Procedure:
1.Bearing pressing- Firstly, as you see , we need to press the qualified rotor and bearing together by this machine, press the bearing into both ends of the shaft, and make it rotate. The bearing can be installed on the shaft with a pressure device, and then the bearing is pressed into the bearing seat hole. This one is to ensure that the two can be well connected together, and the other is not easy to fall, it should be noted here that the inner ring closely fits the shaft wall.
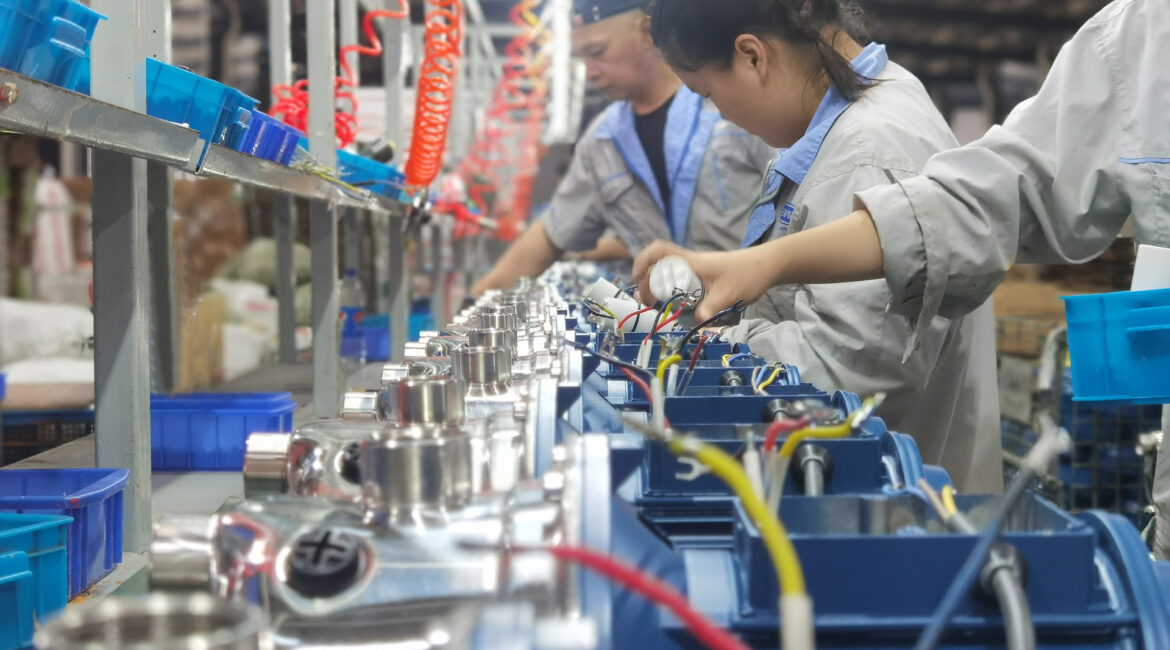
2.Mounting the end shield- The next procedure is mounting the shield, we assemble the rotor and stator. Put this front cover, then assemble the rotor, next stator with motor case. After the assembly, turn the rotor shaft slightly by hand. This is to check if it is locked. If there is no problem in inspection, install the back cover of the motor, screw the bolts and tighten them, and add feet. So far our motor part has been completed.
3.Installing mechanical seal: in this step, we should use O-ring ,mechanical seal,SST plain washer. We can see the master blow off impurities with an air gun many times. Because mechanical seal must be installed in a particle-free and dust-free condition. This is to prevent sealing from being destroyed. Dust or impurities may cause damage and short life of the pump.
4.Mounting impeller- After installation, place the impeller. The impeller must correspond to the flat key to ensure that the impeller can be fixed in position. At the same time, we use the screw to tighten the fitting. Pay special attention to the installation of the vortex pump such as the QB pump impeller: During the installation, the three small holes on the impeller should be balanced and beaten to prevent the imbalance when the impeller is running, which will cause the impeller to be close to the pump and make noise, which will cause the pump to not work properly.
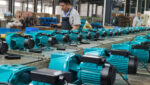
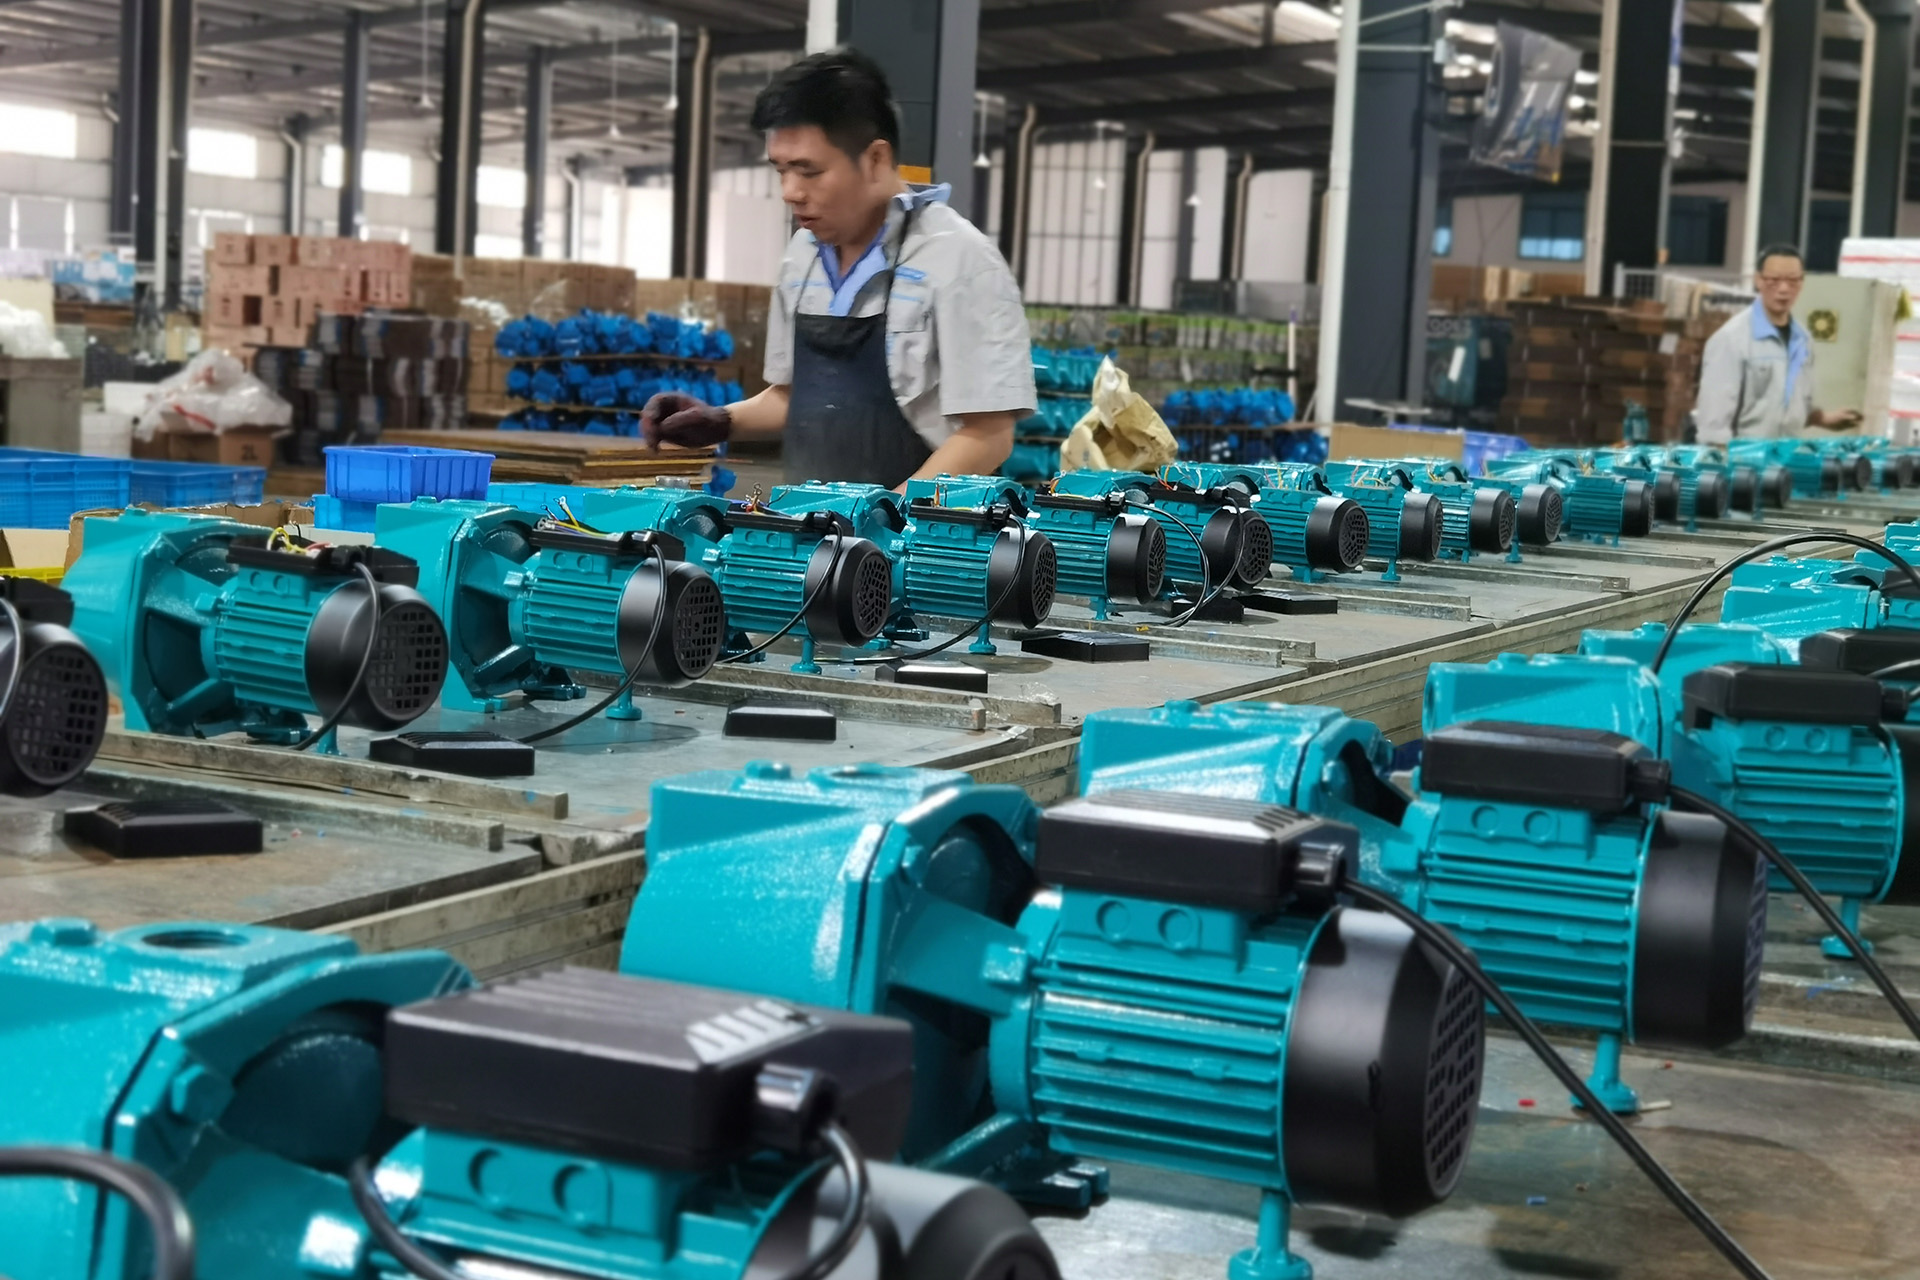
- Assembling pump body: Here we install pump body ,if it is jet pump: we shall install the diffuser, the venturi tube.For vortex pump and centrifugal pump: install the pump body directly, fix the lock screw), and then connect the motor to the pump body, screw on and tighten . Next, install the corresponding air nails (4 pcs), and here we assemble the whole machine.
6.Withstand voltage test- At this time, we will conduct the first test on the assembled pump: current voltage power test. Only when it reaches the standard can we enter the next step.
Then there is the pressure test: this includes not only the test of the machine’s pressure, but also the test of bearing noise, impeller noise, machine vibration and other items. After completing these, the qualified pump will enter the third test on the assembly line.
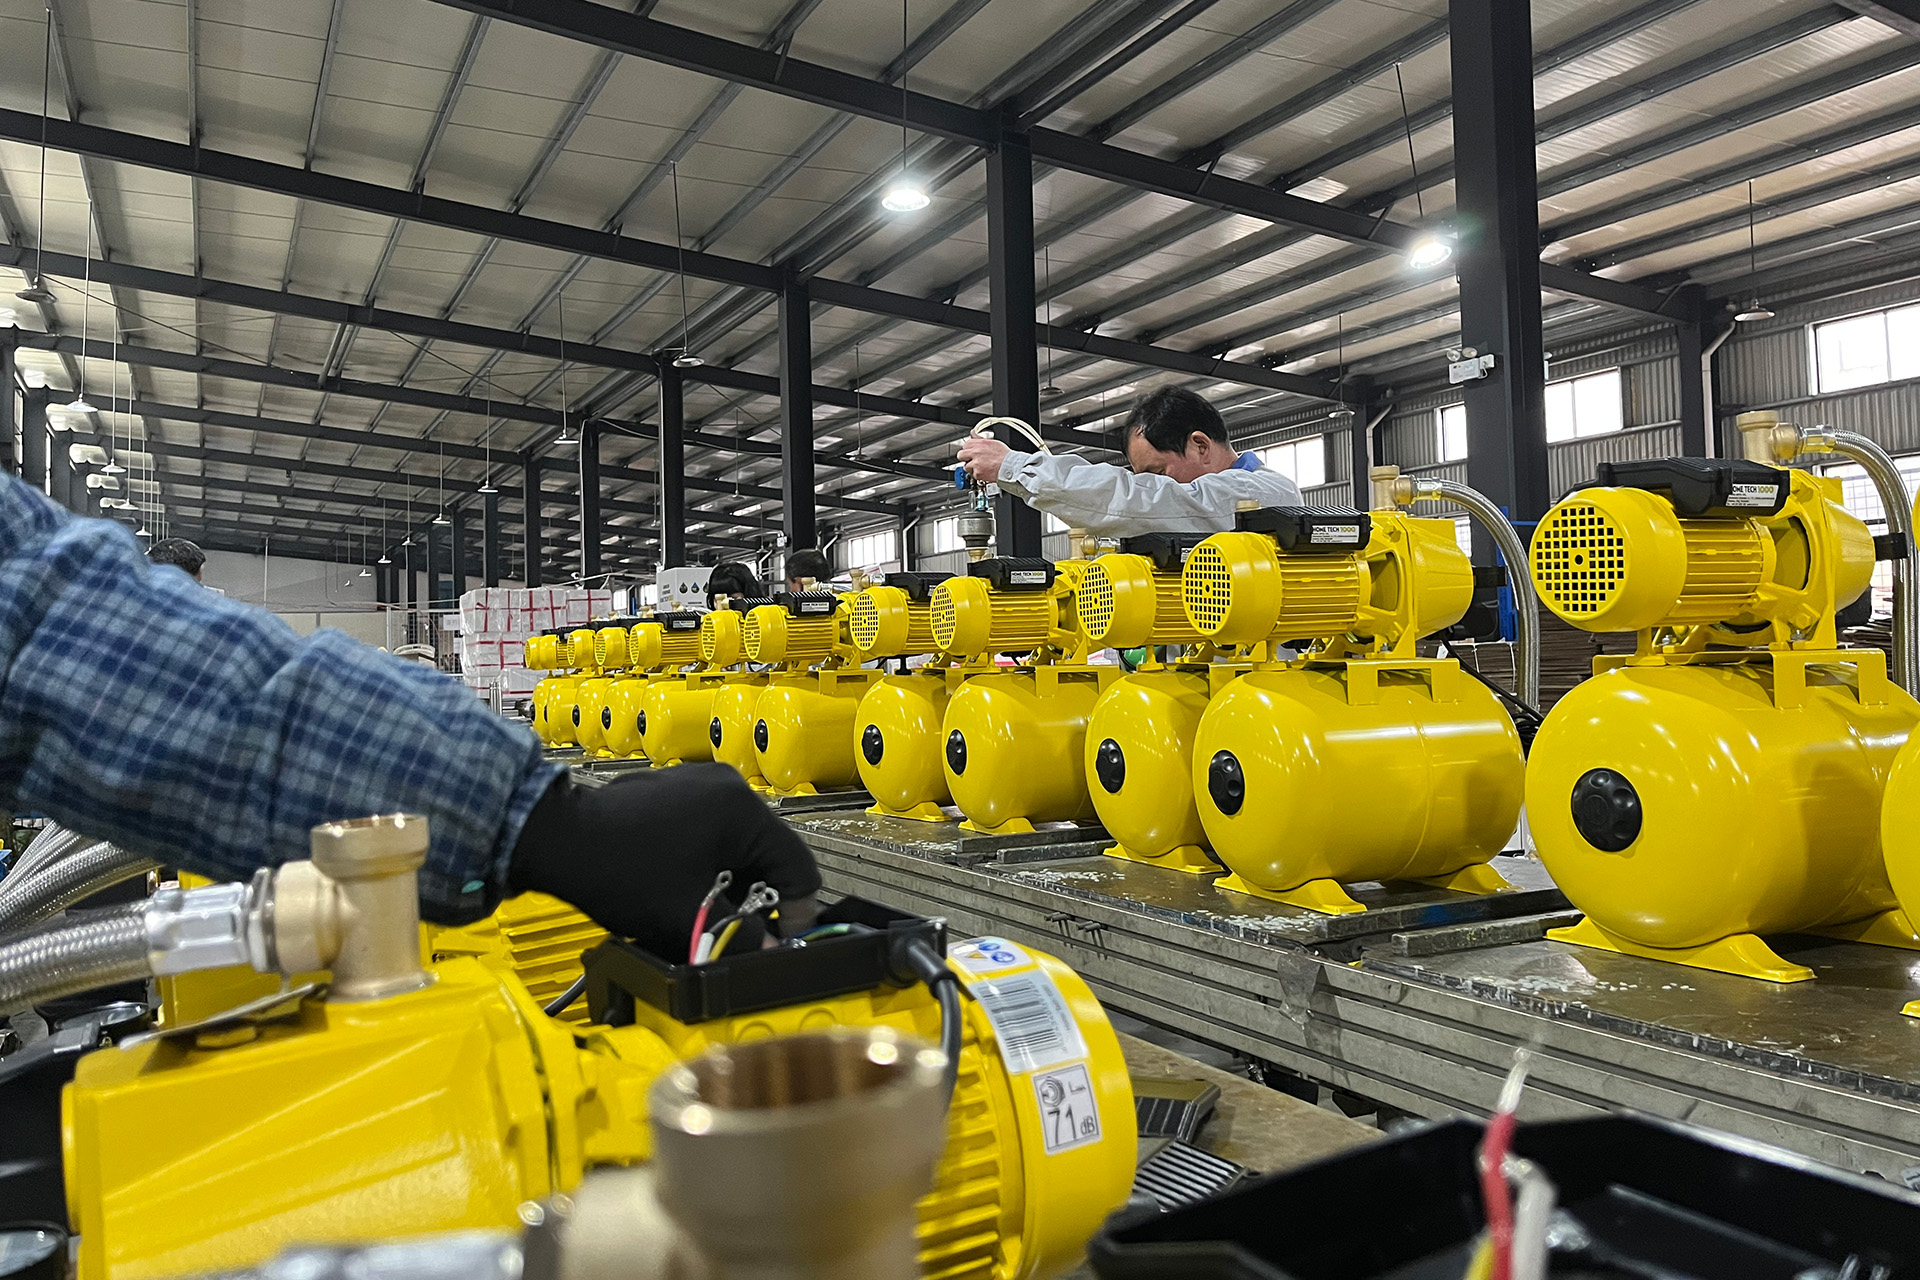
7.Air tightness test- Sealing test or air tightness test : mainly to check whether the pump is water leaking or air leaking. Before this test, the machine should be equipped with air nails .The pressure test machine we normally use 3bar for 63#motor , 4-5bar for 71# motor base. The standard for different models of the big machine will be different. For this part of the qualified pumps, we assemble the capacitor, terminal box, fan and fan cover. For the finished pump, we will have the last pressure test. Because the machine will consume a certain voltage during operation, the test value will be reduced. This is also a normal situation. After we have passed the four tests. Painting will be arranged, and we will arrange the final packaging when the paint is dry.We will explain this part on the packing workshop next time.